I am sad to admit that I am not a planner. I don’t usually have my meals planned a week in advance, I don’t keep a list of to-do’s on my bedside table. I pretty much fly by the seat of my pants, starting a million tasks but finishing none because, well, that’s just how my mommy brain rolls.
Usually, when I wake up in the mornings, I stumble downstairs to the kitchen, make a coffee and a breakfast sandwich or some other quick breakfast for my hubby (occasionally, if I press snooze enough, this might entail ripping a banana from the bunch and serving it next to his coffee 🙂 ). Now, time to wake my little monsters (10 year old Wyatt and an 8 year old Henry). There is usually a fair amount of scrambling to find this or that (i.e. searching for matching socks, because among the things I rock at as a mother, sock matching is definitely not one of them). Couple all of this with some brotherly banter before the boys settle down with something that suites their simple tastes for breakfast that morning – usually a bowl full of mom-guilt (you know the kind, cold cereal, oatmeal packets, etc).
BUT, every once in a while, the stars align and I actually PLAN – pre-making our breakfasts BEFORE our week begins. Such a novel idea. SERIOUSLY!!! PURE BLISS! I am almost excited (I said almost) to wake up and pop something in the microwave for 30 seconds and have a delicious, protein filled breakfast for my family.
These breakfast cups are so delicious. I created this recipe while my husband and I were on the Whole 30 diet. They tasted so naughty when we were accustomed to eating so healthy, but they aren’t, at all! They are packed with vitamins and protein. My husband always gets so excited when I make them and if I happen to make them on a day he is home from work, he will eat one or two for every meal. He can not stay out of them. I also made them for a catered brunch at our church for the community youth pastors and got RAVE reviews. They are savory with a tiny touch of sweetness from the potatoes (which might seem a little odd, but its pretty fabulous). I would highly suggest making a double batch of these if you have any big eaters in your family and are planning to have some leftovers for the week.
Ingredients:
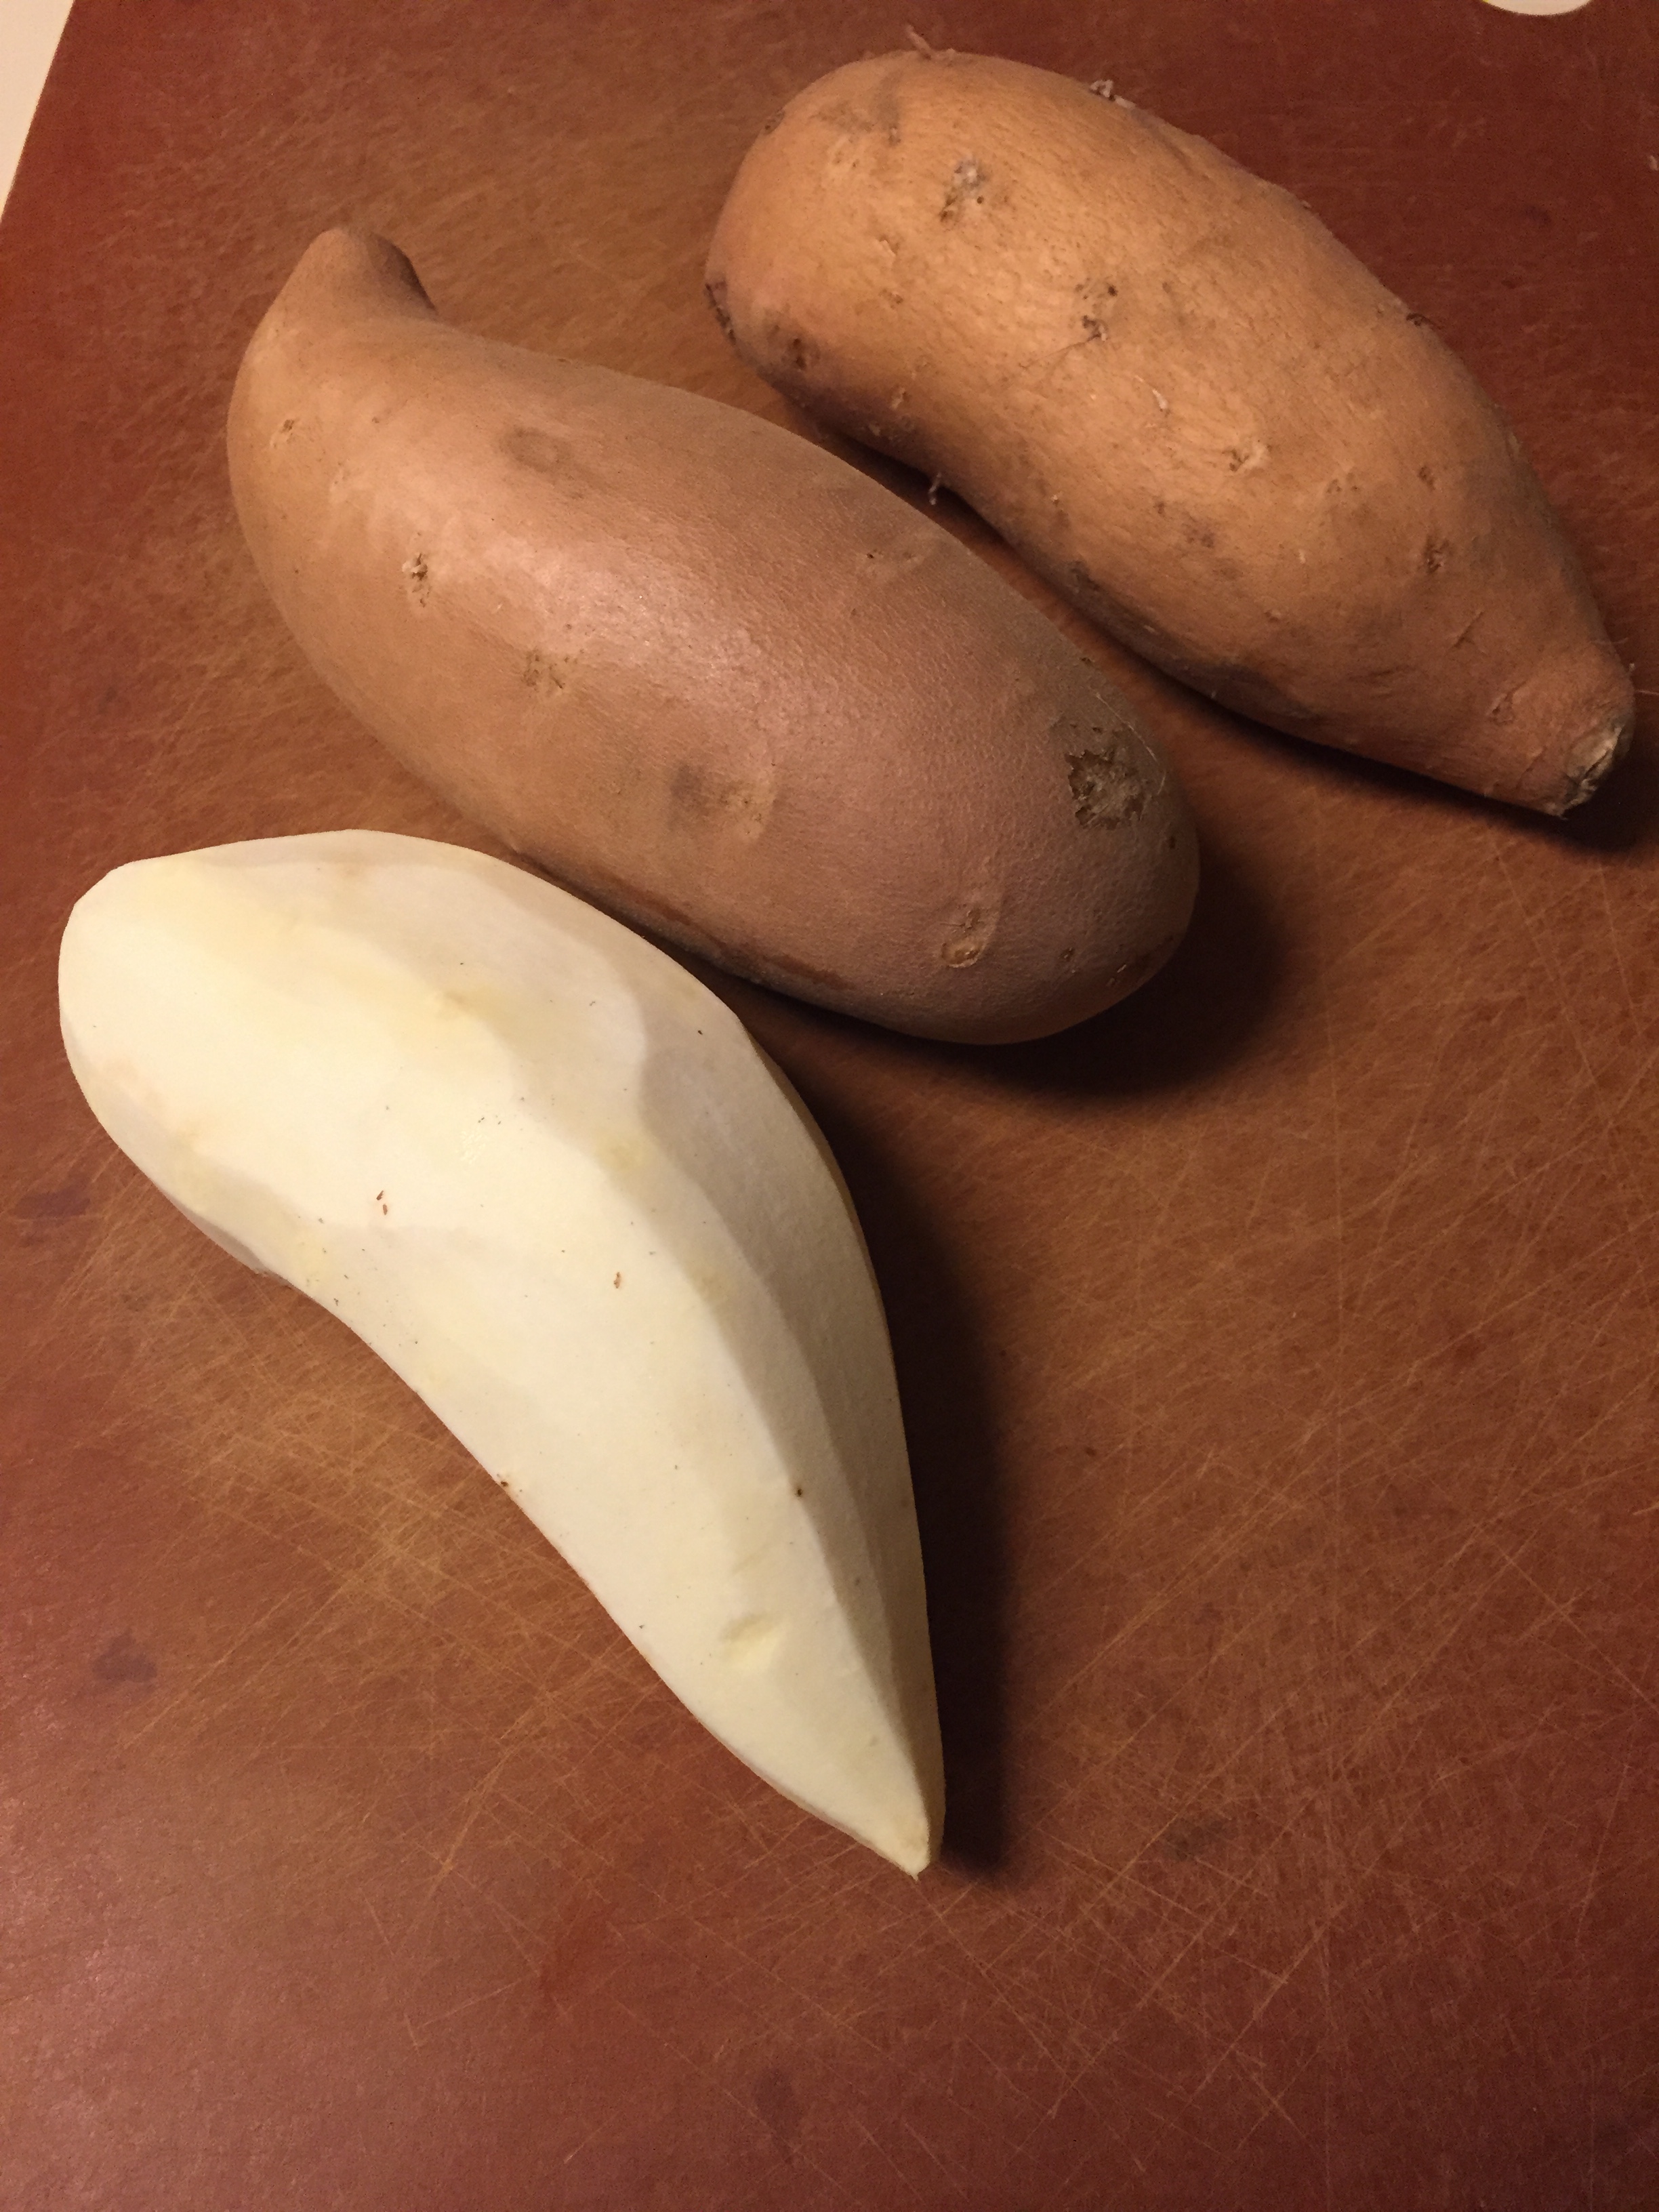
3 medium-sized sweet potatoes (the kind with light brown skin and white flesh)
1 medium onion, diced
1/2 green bell pepper, diced
1/2 red bell pepper, diced
1 package prosciutto (If you are wanting to stay Whole 30 compliant, be sure to check your ingredients -we found ours at Costco and Trader Joe’s with just pork and salt).
8-12 eggs (one egg per cup – most packs come with 8-12 slices of prosciutto)
1/4 cup milk (omit for Whole 30/Paleo)
Salt
Black Pepper
Garlic Salt
Directions:

Preheat oven to 350F degrees. Peel sweet potatoes. Using a food processor, shred potatoes. If you don’t have a food processor, chop the potatoes into small pieces. Heat 2 tbsp. your favorite cooking oil (I LOVE avocado oil) in a large heavy-bottomed pan on Medium-high heat.


Do a sizzle test to make sure that the oil is hot enough. Add potatoes, peppers, garlic onions and seasonings. Wait for several minutes before checking the bottom of the potatoes to see if they are golden brown. Once they are crisp and brown, go ahead and turn them. The potatoes will not take too long to cook thoroughly. You don’t want them to get mushy. Be sure to taste them at this point. Season them until you feel like they would taste great alone. Continue to stir the potatoes every few minutes until they have a good brown color mixed throughout.


Next you will want to pull the prosciutto apart. It is pretty hard to separate without tearing but if it does tear, now worries. Lay one piece of prosciutto in each cup of your cupcake pan (I could not live without my Demarle silicone cupcake pan. NOTHING will stick to it. If you are using a regular metal pan, be sure to use non-stick cooking spray or cupcake liners or those babies will never come out.)

Place your cooked hashbrowns inside the cups on top of the prosciutto. Fill the cup but don’t pack it down.


Beat an egg for each cup you are planning to fill. Add about 1/4 cup of milk (again omit for Whoke 30/Paleo) and a little salt and pepper. Whisk together. Using a 1/3 cup measuring cup, fill each cup almost to the top with egg. The egg will sink down under the hashbrowns so you may have to come back and top them off.


Bake at 350F for 20 minutes. Check to see if the centers of the egg cups are firm and not still runny . If they are still runny, cook for 2 minutes at a time until they are firm (unless they are considerably runny, then add several minutes.) Mine took 26 minutes total this last time but it will vary based on slight differences in oven temps and pan material so just keep your eye on it toward the end.
Let stand at room temperature for 5 minutes until they are cool enough to handle. Remove from pan and serve warm. I usually put the leftovers in a big gallon Ziploc and then reheat them in the microwave for a fast, delicious breakfast.
Savory Breakfast Cups (Whole 30 Friendly)
Ingredients:
3 medium-sized sweet potatoes (the kind with light brown skin and white flesh)
1 medium onion, diced
1/2 green bell pepper, diced
1/2 red bell pepper, diced
1 package prosciutto (If you are wanting to stay Whole 30 compliant, be sure to check your ingredients -we found ours at Costco and Trader Joe’s with just pork and salt).
8-12 eggs (one egg per cup – most packs come with 8-12 slices of prosciutto)
1/4 cup milk (omit for Whole 30/Paleo)
Salt
Black Pepper
Garlic Salt
Directions:
- Preheat oven to 350F. Peel sweet potatoes. Using a food processor, shred potatoes. If you don’t have a food processor, chop the potatoes into small pieces. Heat 2 tbsp. your favorite cooking oil (I LOVE avocado oil) in a large heavy-bottomed pan on Medium-high heat.
- Do a sizzle test to make sure that the oil is hot enough. Add potatoes, peppers, garlic onions and seasonings. Wait for several minutes before checking the bottom of the potatoes to see if they are golden brown. Once they are crisp and brown, go ahead and turn them. The potatoes will not take too long to cook thoroughly. You don’t want them to get mushy. You will want to taste them at this point. Season them until you feel like they would taste great alone. Continue to stir the potatoes every few minutes until they have a good brown color mixed throughout.
- Next you will want to pull the prosciutto apart. It is pretty hard to separate without tearing but if it does tear, now worries. Lay one piece of prosciutto in each cup of your cupcake pan (I could not live without my Demarle silicone cupcake pan. NOTHING will stick to it. If you are using a regular metal pan, be sure to use a good amount of non-stick cooking spray or cupcake liners or those babies will never come out.)
- Place your cooked hashbrowns inside the cups on top of the prosciutto. Fill the cup but don’t pack it down.
- Beat an egg for each cup you are planning to fill. Add about 1/4 cup of milk and a little salt and pepper. Whisk together. Using a 1/3 cup measuring cup, fill each cup almost to the top with egg. The egg will sink down under the hashbrowns so you may have to come back and top them off.
- Bake at 350F for 20 minutes. Check to see if the centers of the egg cups are firm and not still runny . If they are still runny, cook for 2 minutes at a time until they are firm (unless they are considerably runny, then add several minutes.) Mine took 26 minutes total this last time but it will vary based on slight differences in oven temps and pan material so just keep your eye on it toward the end.
- Let stand at room temperature for 5 minutes until they are cool enough to handle. Remove from pan and serve warm. I usually put the leftovers in a big gallon Ziploc and then reheat them in the microwave for a fast, delicious, hot breakfast.